Subheading: A 7-step, one-day transformation for long-lasting floors.
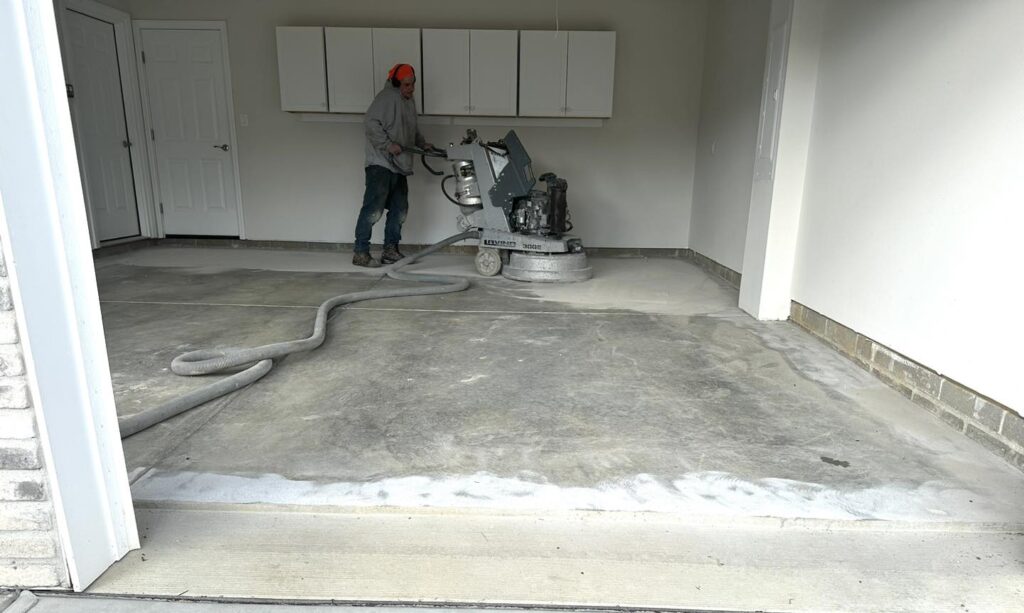
Step 1:
Surface Preparation
We start by rolling out our state-of-the-art industrial grinders and HEPA vacuums for efficient, dust-controlled prep. Diamond grinders open the pores of your concrete, creating the perfect surface for coating.
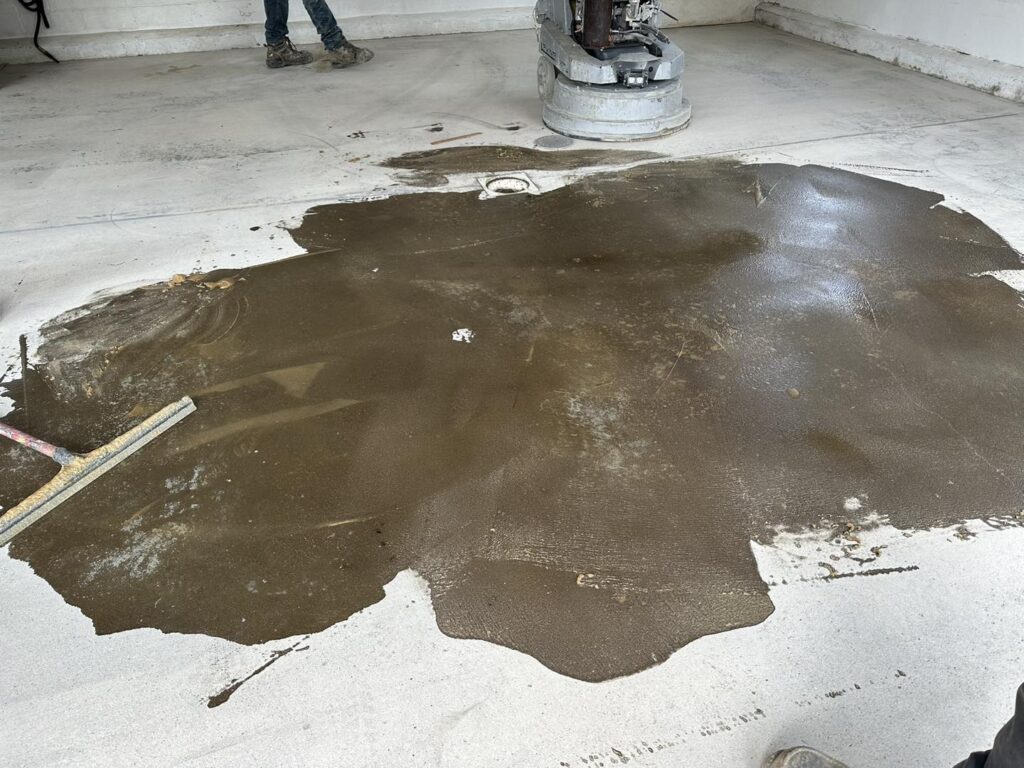
Step 2:
Repair & Restoration
Cracks and pits are repaired with an award-winning mending product that cures stronger than the concrete itself, ensuring a smooth, durable foundation.
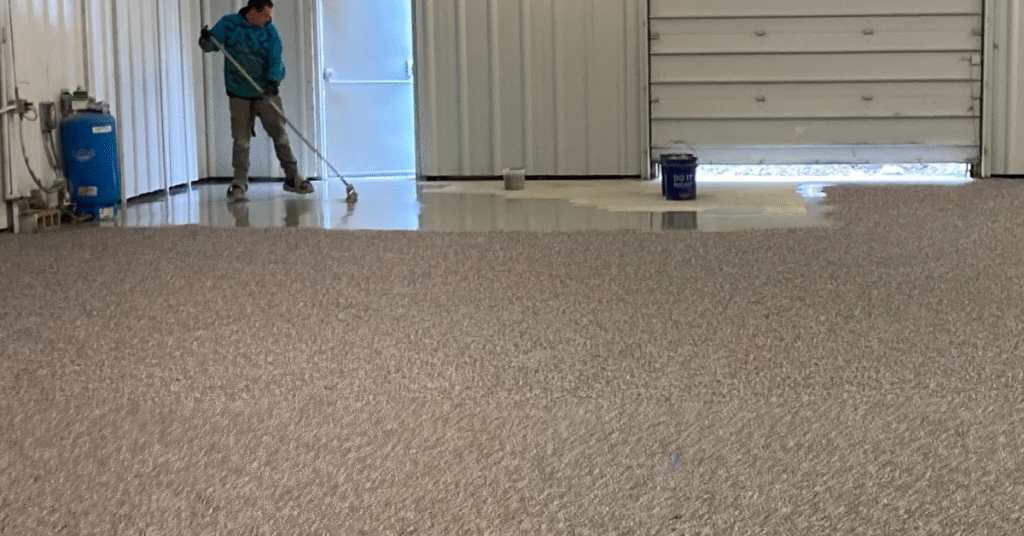
Step 3:
Basecoat Application
Our self-leveling polyurea basecoat is rolled onto your concrete, seeping deep into the open pores to bond with the surface for unmatched adhesion.
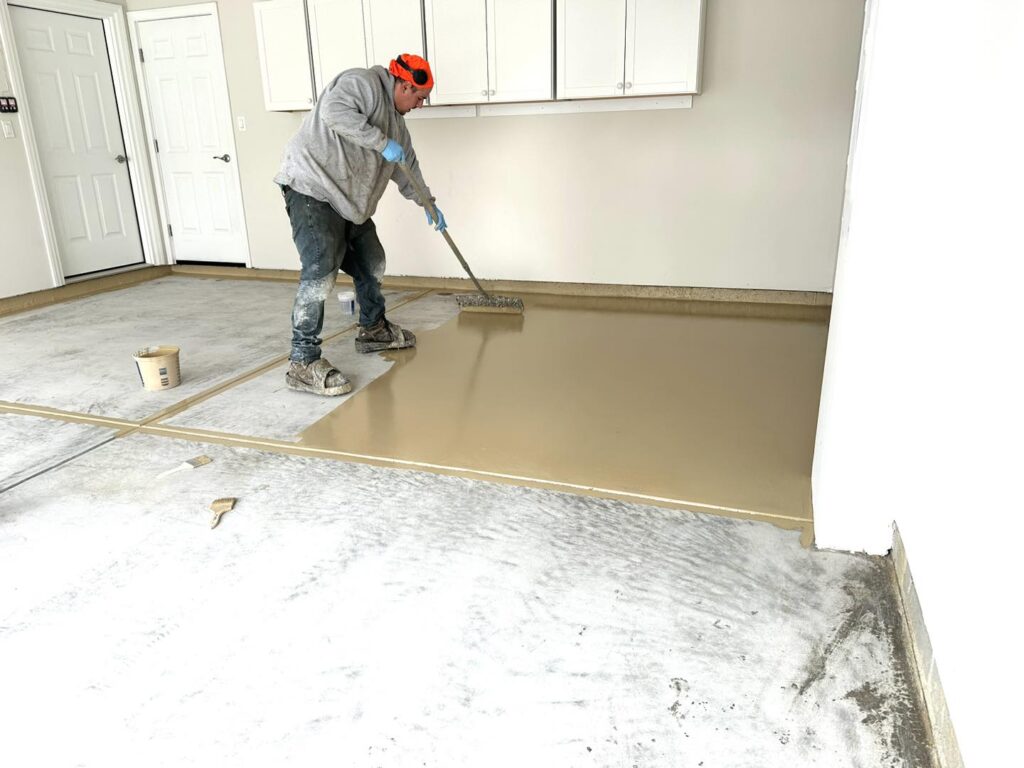
Step 4:
Color Distribution
Full chip coverage in your choice of colors and blends, giving you endless options for texture, style, and appearance.
Step 5:
Surface Refinement
Once cured, we scrape the surface in multiple directions to ensure consistent coverage and a flawless, even texture.
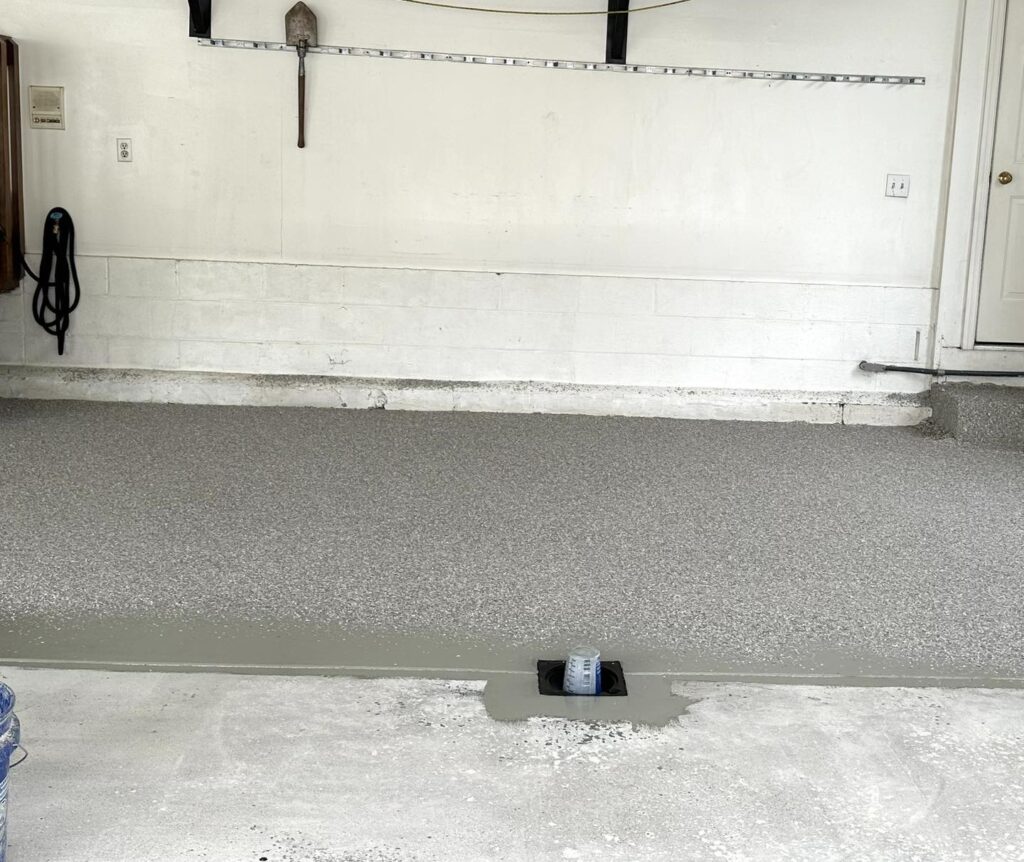
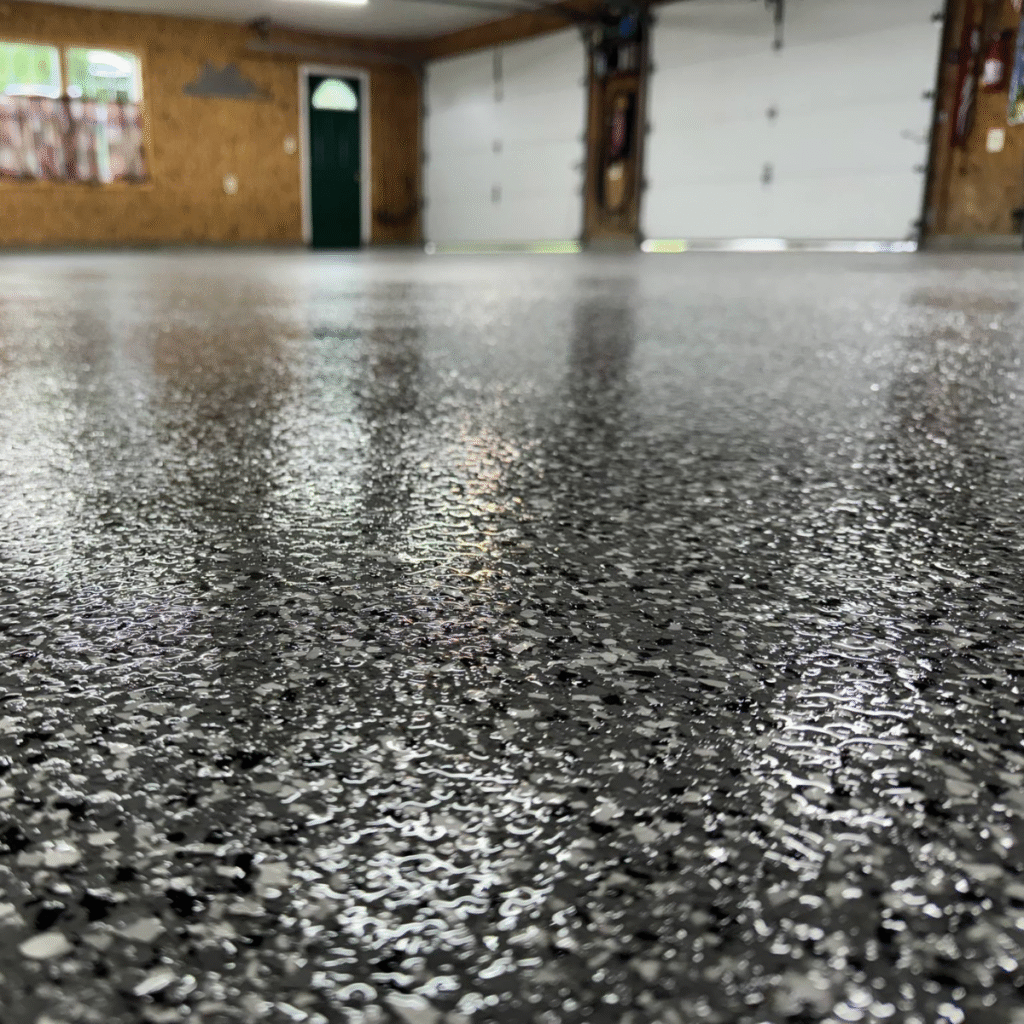
Step 6:
Topcoat Application
Our polyaspartic topcoat seals the floor with a nonporous, UV-stable finish that resists stains, abrasions, salt, chemicals, and bacteria and makes cleaning a breeze.
Step 7:
Detailed Application & Final Walkthrough
Every step is handled with precision to ensure lasting quality. After 4–6 hours, your floor is ready for foot traffic, and within 48 hours, you can park your car with confidence.
Ready to Start Your Concrete Floor Coating Project?
Schedule your free on-site estimate today and see how Diamond Concrete Coating can transform your floor in just one day.